Hey there, DIY enthusiasts! If you’re the proud owner of a stunning kitchen with handcrafted custom cabinets, a beautiful farmhouse sink, and top-of-the-line appliances, you know how essential it is to keep every detail perfect. However, even in the most luxurious kitchens, a loose faucet can disrupt the tranquility of your cooking haven. But don’t fret! With just a few basic tools and some simple steps, you can easily tighten that wobbly faucet and restore the serene elegance to your kitchen. Let’s dive in!
What You Need to Tighten a Kitchen Faucet
- A Basin Wrench or Vice Grips (trust me, these tools will be your best friends!)
- A flashlight to help you see in those tight spots.
Step 1 – Clear out the Sink Cabinet
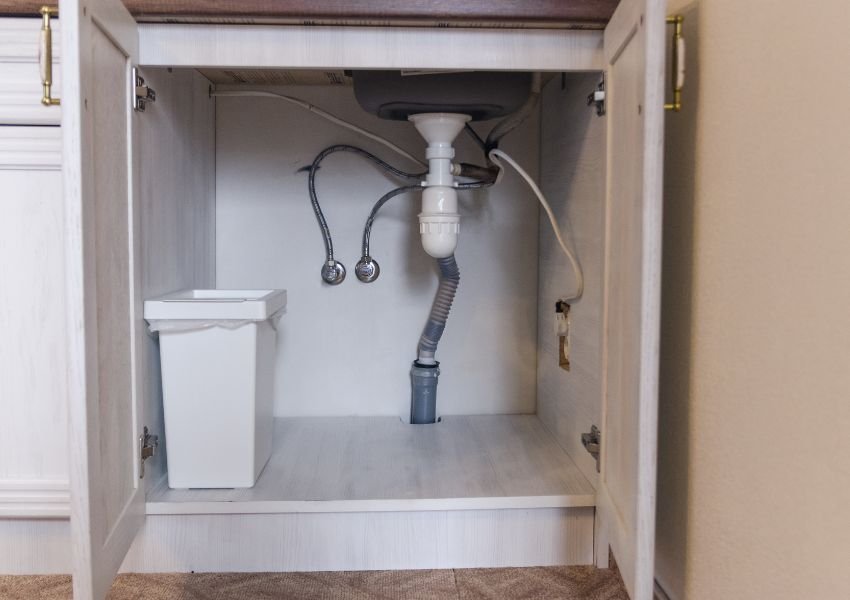
Before we get started, let’s create some room to work. Open up those cabinet doors and remove anything in the way. Having a clear workspace will make the whole process smoother.
Step 2 – Turn off the Water Valves
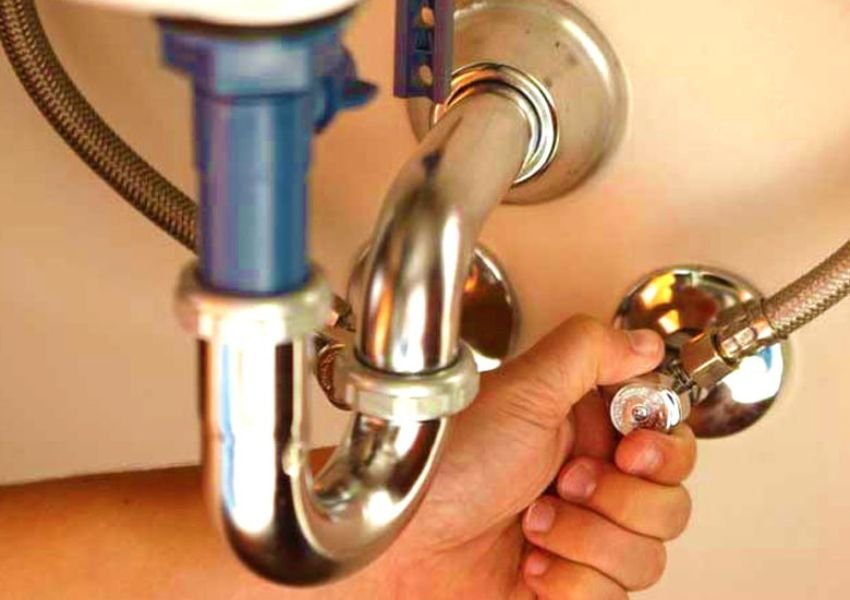
Safety first! Locate the water valves under the sink, usually close to where the water pipes connect to the faucet. Turn them clockwise (to the right) until they’re fully closed. This will prevent any water surprises while we work on the faucet.
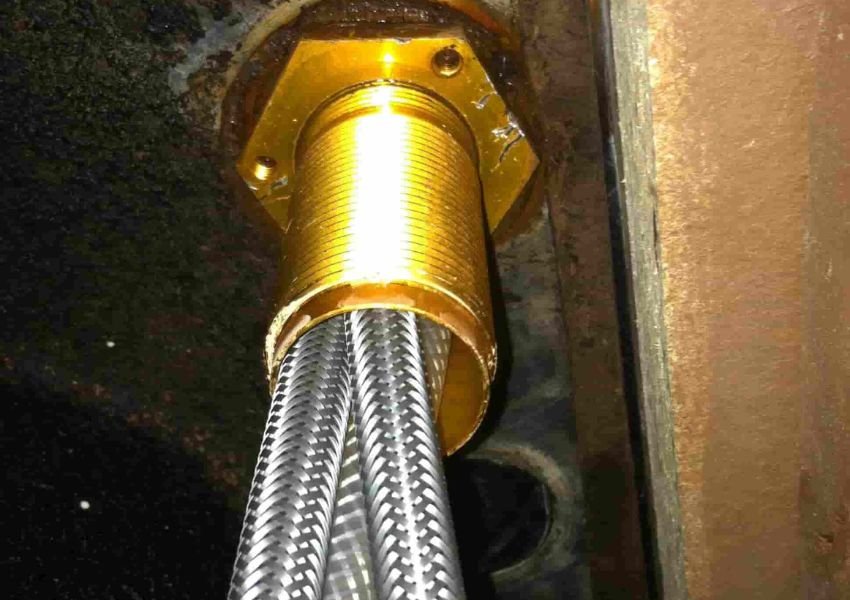
Step 3 – Locate the Faucet Nut

Now, let’s find the culprit! The faucet nut is the key to securing your faucet. You’ll find it right under the sink, near where the water pipes connect to the faucet. Use your flashlight to get a better view if needed.
Step 4 – Tighten the Faucet Nut
Time to get handy! Grab your Basin Wrench or Vice Grips – they’ll make this job a breeze. The type of nut will determine how you tighten it:
a – Winged nuts: If your faucet has winged nuts, these are the ones with little “wings” on them. Use your Basin Wrench or Vice Grips to grip those wings. Turn the tool clockwise to tighten the nut. You’ll feel it snug up nicely.
b – Standard nuts: For standard nuts, simply place your Basin Wrench or Vice Grips around the nut and turn it clockwise until it’s tight. Easy peasy!
Step 5 – Turn the Water Back On and Check:
Now that you’ve worked your magic, it’s time to turn the water back on. Head back to those water valves and turn them counterclockwise (to the left) to open them up. With the water flowing again, give the faucet a gentle wiggle. Voila! If it’s steady and wobble-free, you’ve nailed it!
There you have it, DIY enthusiasts! You’ve successfully tightened your kitchen faucet, and your exquisite cooking space is back to its former glory. Remember, with a bit of know-how and the right tools, you can handle many plumbing tasks yourself. But if you ever need more help, don’t hesitate to reach out to a professional plumber. Happy cooking in your fabulous kitchen!